
Kくん
シートの内容は一緒なんだけど、シート名をかえて複製する簡単な方法ないかな。
ママ
GASを使う方法ならあるわ。順番に説明するわね。
前準備
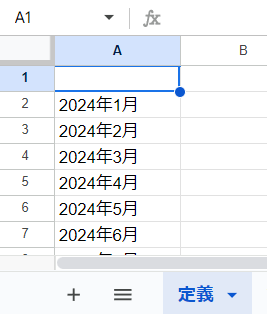
「定義」シートを作成(各シートにつけたい名前を記載)
ママ
「定義」のシートを作成して、
作成したいシート名をA列に記載してね
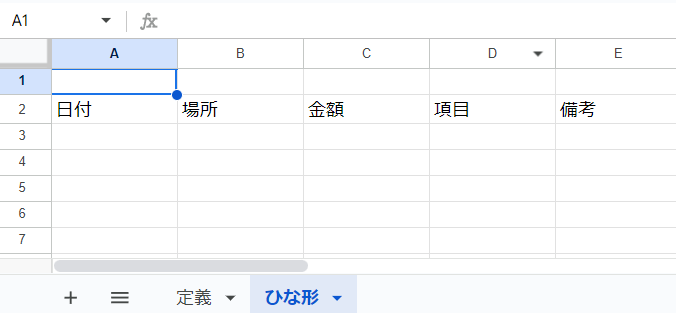
ひな形を作成
ママ
全シート共通で使うところを作成してね
GASの入力
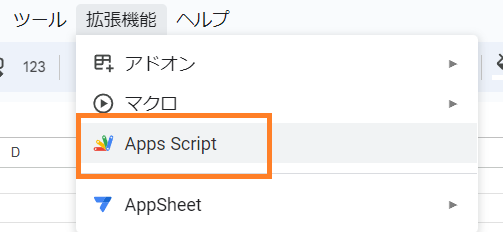
1)[拡張機能]ー[Apps Script]をクリックする
2)コード.gsに、以下のコードを貼り付ける
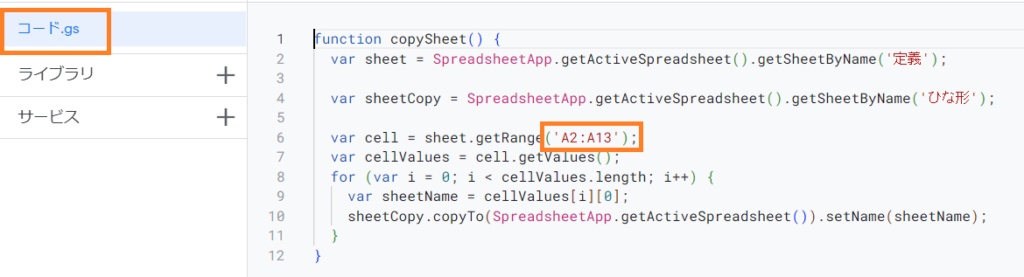
ママ
以下のコードの「★変更する★」のところに、【シート名:定義】で記載した、シート名の範囲を記載する。例:A2:A13
function copySheet() {
  var sheet = SpreadsheetApp.getActiveSpreadsheet().getSheetByName('定義');

  var sheetCopy = SpreadsheetApp.getActiveSpreadsheet().getSheetByName('ひな形');

  var cell = sheet.getRange('★変更する★');
  var cellValues = cell.getValues();
  for (var i = 0; i < cellValues.length; i++) {
    var sheetName = cellValues[i][0];
    sheetCopy.copyTo(SpreadsheetApp.getActiveSpreadsheet()).setName(sheetName);
  }
}
3)[実行]をクリック
※「承認が必要です」が表示された場合、こちらを参考にしてね。

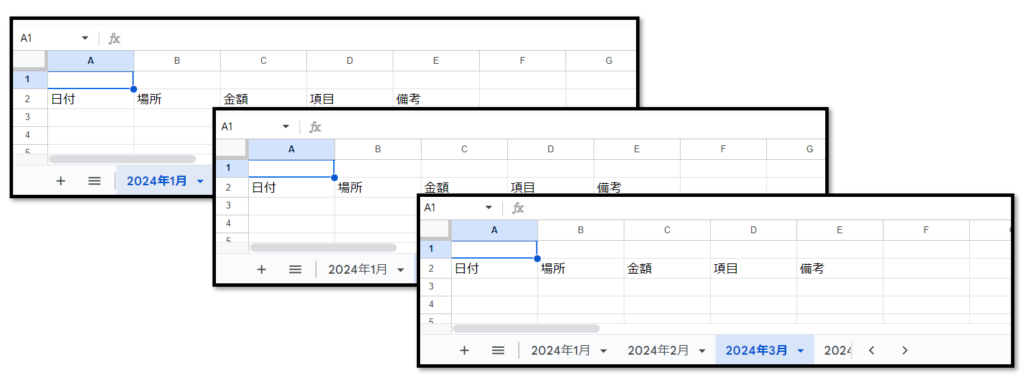
4)実行ログが、「実行完了」となったら、シートが複製されていることを確認。

リンク


コメント